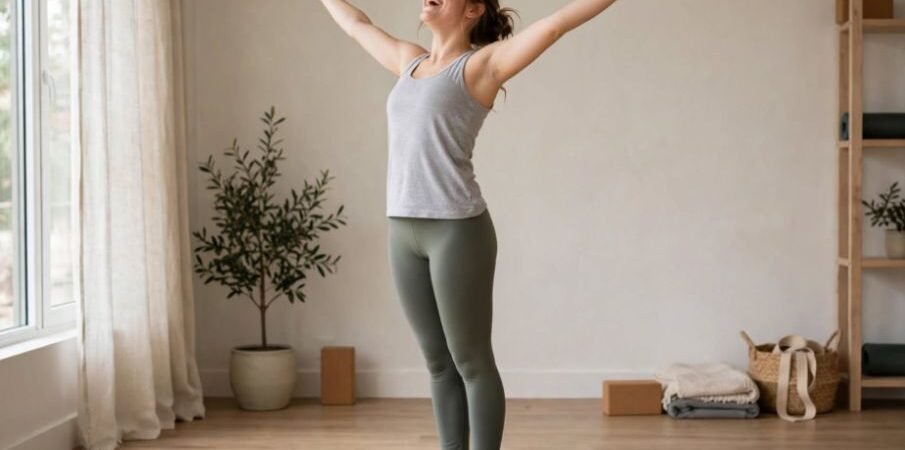
When I taught my first community yoga session a decade ago, half the room collapsed into their wrists during the fifth transition. Surya Namaskar A should invigorate your central nervous system, not inflame your joints. Master this step by step sun salutation for beginners to coordinate your breath, stabilize your spine, and build upper-body endurance safely at home.
Breath Anchor Rule:
Inhale = Expansion, lifting, lengthening
Exhale = Folding, lowering, compressing
Understanding this continuous loop transforms disconnected stretches into an unbroken moving meditation.
The Rhythm of Surya Namaskar A: Breath and Alignment Architecture
A classic cycle links twelve distinct physical shapes into one continuous loop. Each posture alternates between spinal extension and flexion. In traditional hatha yoga, students hold postures statically for several breaths. Modern flows, however, bind one breath to one action.
Understanding the differences between Hatha yoga vs Vinyasa flow can also clarify why Sun Salutation combines controlled alignment with continuous, breath-linked movement.
Research published by the National Center for Complementary and Integrative Health confirms that consistent practice improves spinal flexibility and down-regulates sympathetic stress responses. If your breathing turns ragged, pause. Form always takes precedence over speed.
Step by Step Sun Salutation for Beginners: The 12-Pose Flow
Keep your knees soft throughout this sequence. Forcing straight legs overstretches cold hamstring tendons and forces your lumbar spine into compensatory rounding.
Step 1: Mountain Pose (Tadasana)
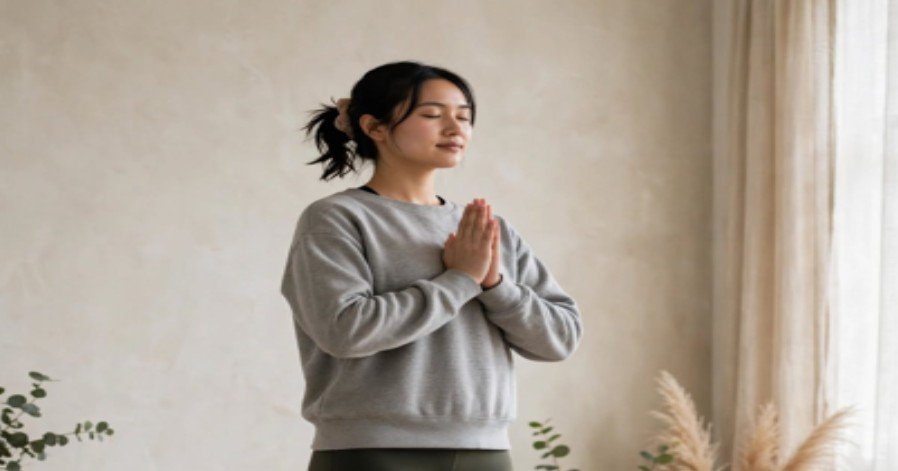
- Breath: Calm nasal cycles.
- Execution: Plant your feet hip-distance apart at the top of your mat. Spread all ten toes wide to distribute weight evenly through the balls and heels. Bring your hands to heart center in prayer. Draw your shoulder blades gently down your ribs and fix your eyes on an unmoving spot ahead.
Step 2: Upward Salute (Urdhva Hastasana)
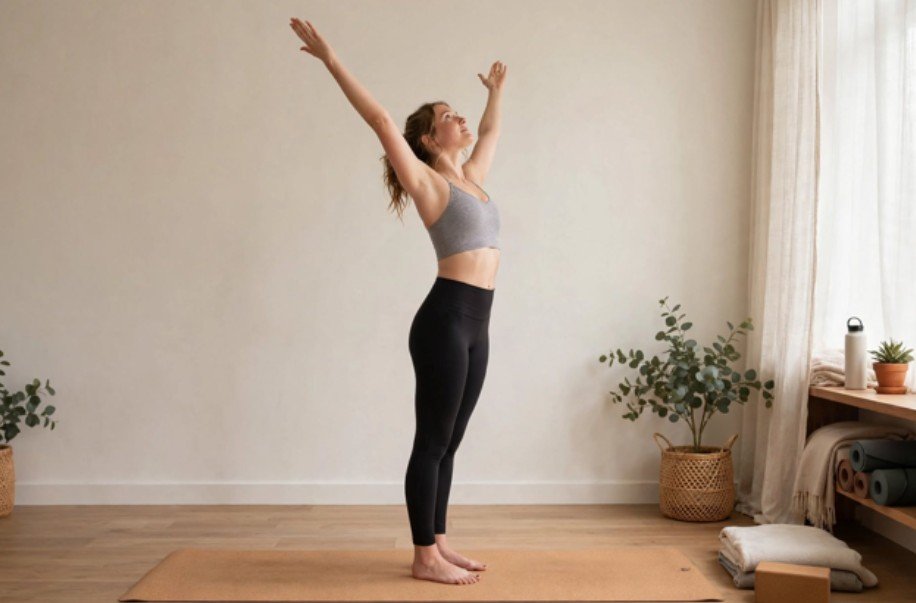
- Breath: Inhale.
- Execution: Sweep your arms out wide and up toward the ceiling. Anchor your tailbone slightly down toward your heels to prevent hyperextending your lower back. Gaze softly past your thumbs without jamming your neck backward.
Step 3: Standing Forward Fold (Uttanasana)
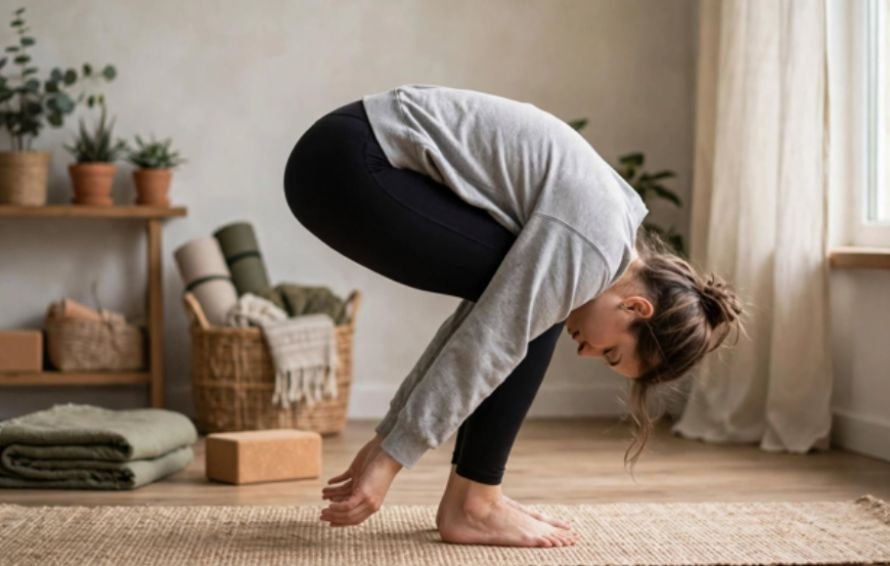
- Breath: Exhale.
- Execution: Hinge directly from your hip creases rather than rounding your waist. Bend your knees generously until your lower ribs contact your thighs. Release the crown of your head fully toward the mat so your cervical spine decompresses.
Step 4: Halfway Lift (Ardha Uttanasana)
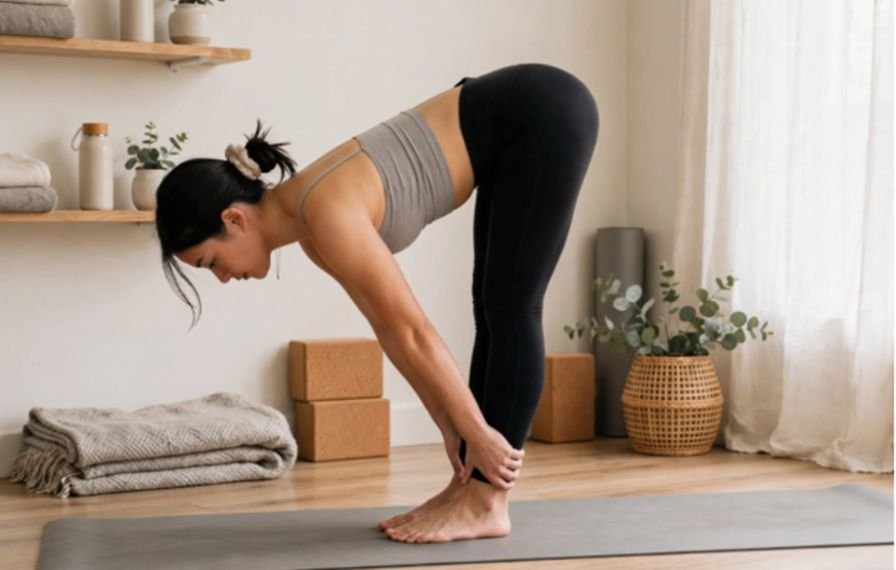
- Breath: Inhale.
- Execution: Press your hands against your shins or upper thighs. Extend your breastbone forward and roll your shoulders away from your ears until your back forms a level tabletop. Keep your neck long by looking down at the floor rather than up at the wall.
Step 5: High Plank (Phalakasana)
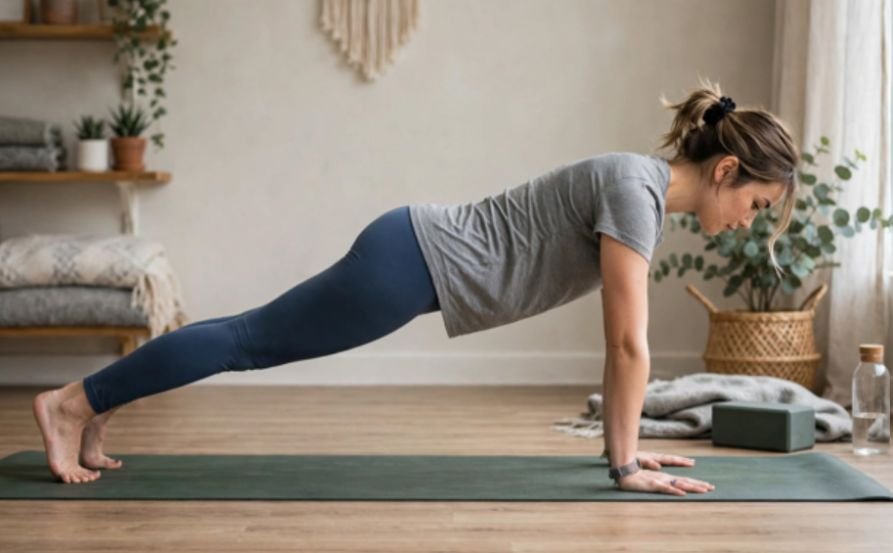
- Breath: Exhale to set, hold for a brief inhale.
- Execution: Plant both palms flat with fingers splayed wide. Step your feet straight back to shoulder-width. Push down into the mat to fill the space between your shoulder blades while pulling your navel firmly toward your spine.
Step 6: Knees-Chest-Chin (Ashtanga Namaskara)
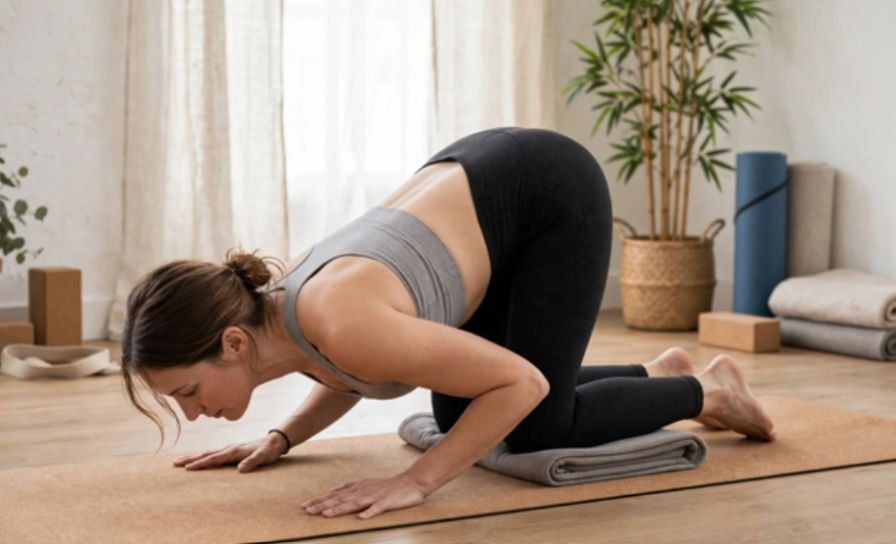
- Breath: Exhale.
- Execution: Drop both knees to the mat. Keep your elbows glued tightly against your ribcage as you lower your chest between your thumbs and rest your chin lightly on the floor. Keep your hips elevated; do not drop your pelvis yet.
Step 7: Baby Cobra Pose (Bhujangasana)
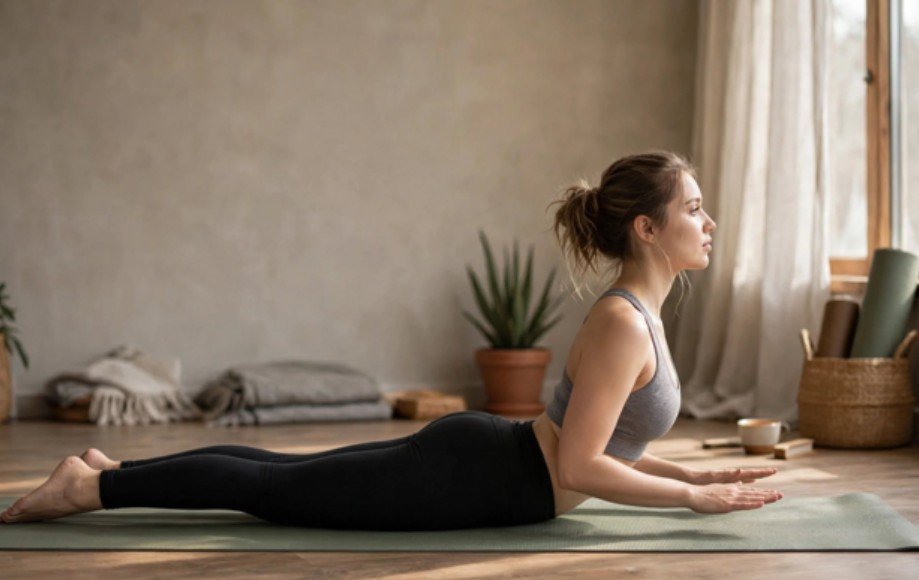
- Breath: Inhale.
- Execution: Slither your belly and pelvis flat against the mat and point your toes back. Peel your chest two inches off the floor using your erector spinae muscles rather than pressing through your hands. Float your palms an inch off the mat to confirm your back does the work.
Step 8: Downward-Facing Dog (Adho Mukha Svanasana)
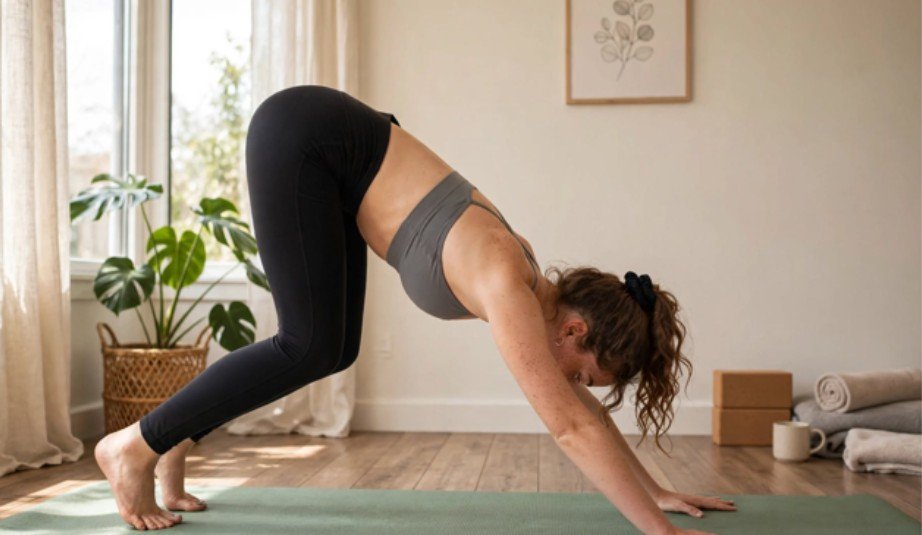
- Breath: Exhale (hold for 3 to 5 full breaths).
- Execution: Tuck your toes, press firmly through your thumb and index-finger knuckles, and send your hips back toward the ceiling.
- Keep your knees bent so your spine forms an unbroken line from wrists to sit bones.
- If your shoulders, hamstrings, or wrists need extra support, learning how to use yoga blocks in Downward Dog can help you modify the pose while maintaining better alignment.
- Peer-reviewed research via PubMed reveals that improper hand loading in Down Dog elevates carpal tunnel pressure; keep your palms suctioned and active.
Step 9: Halfway Lift Return (Ardha Uttanasana)
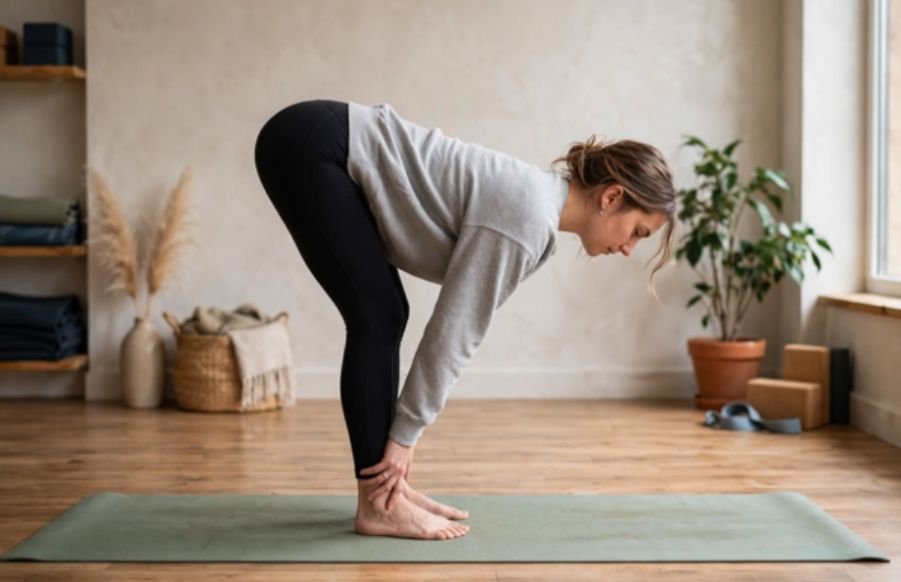
- Breath: Inhale.
- Execution: Look between your hands. Take small, measured strides toward the front of your mat until your feet arrive between your wrists. Slide your palms onto your shins and flatten your spine once again.
Step 10: Standing Forward Fold (Uttanasana)
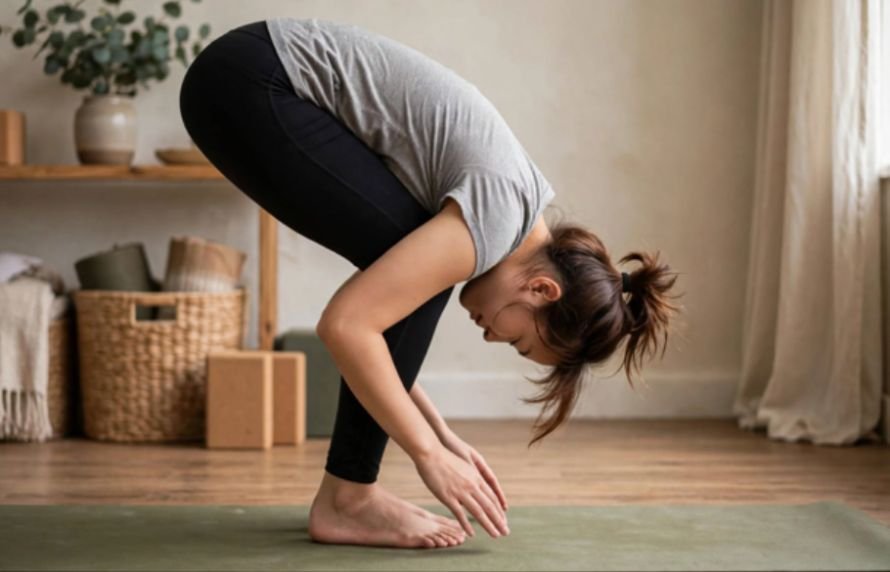
- Breath: Exhale.
- Execution: Release your torso completely over your thighs. Let your head hang like a heavy pendulum to release residual tension across your thoracic spine.
Step 11: Upward Salute (Urdhva Hastasana)
- Breath: Inhale.
- Execution: Press down through your heels, lead with your chest, and sweep your arms wide to stand tall. Reach toward the sky as your lungs fill completely.
Step 12: Mountain Pose Return (Tadasana)
- Breath: Exhale.
- Execution: Draw your hands down to prayer at your sternum. Stand tall, notice the heat coursing through your limbs, and reset your baseline breath.
Troubleshooting the Low Transition: Escaping the Shoulder Trap
Most beginner breakdowns happen between Plank and Cobra. Mainstream classes often push novices straight into full Chaturanga Dandasana (the low push-up), which demands exceptional serratus anterior strength. Dropping into a collapsed low push-up dumps your entire body weight straight into the anterior rotator cuff capsule.
Anatomical alignment resources from Yoga Journal recommend mastering the knees-down variation before attempting suspended transitions.
Just as controlled transitions matter in Sun Salutations, learning how to prevent dizziness during aerial yoga inversions emphasizes slowing down and maintaining control when changing body position.
Common Breakdown: Shoulders dropping below elbow height in Chaturanga
Correct Modification: Lower knees first, keep elbows tucked at 45-90 degrees, or drop to belly
To build control safely, test my Friction Slide Drill: Place a small hand towel under your knees on a bare floor. In a modified knees-down plank, consciously resist sliding forward as you lower your torso in one unbroken plank down to the floor over a 4-second count. This trains your triceps and lats to stabilize your torso without shearing your shoulder joints.
Frequently Asked Questions
1. How many rounds of sun salutations should a beginner do?
Start with three to five complete cycles every morning to build cardiovascular heat without fatiguing your shoulders.
2. Can I do sun salutations if I cannot touch my toes?
Yes, simply bend your knees deeply during all forward folds to protect your hamstrings and lower back.
3. What is the main difference between Sun Salutation A and B?
Sun Salutation B adds Chair Pose (Utkatasana) and Warrior I (Virabhadrasana I), demanding greater cardiovascular stamina and lower-body strength.
4. Why do my wrists hurt during sun salutations?
Wrists hurt when weight collapses into the heel of the hand; grip the mat firmly with your fingertips and knuckles to redistribute the load.
Unroll the Mat, Own the Flow
Mastering this flow is not about forcing your heels to the floor or bending into a pretzel. Focus on pairing one deliberate breath with each physical shift. Complete three rounds tomorrow morning right after getting out of bed, keeping your knees soft and your core locked. Consistency on the mat always outlasts perfection.